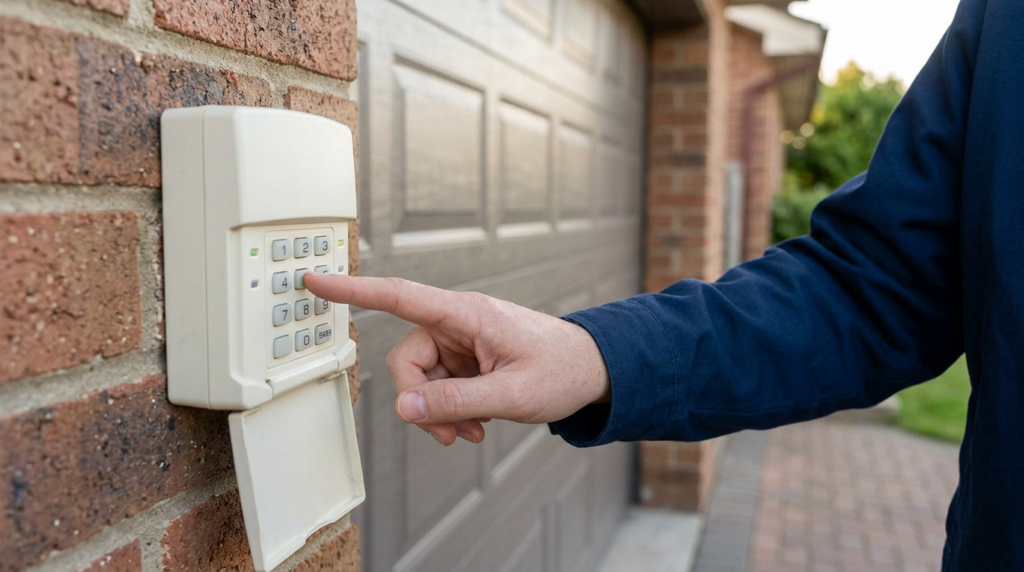
Quick answer: Find the opener model on the motor head label and the keypad model inside the keypad cover, then follow the matching instructions for Security+, Security+ 2.0, or older DIP-switch units. Most modern Chamberlain keypads pair by setting a PIN and using the opener’s LEARN button. If pairing fails, check battery/contacts, confirm compatibility, and verify the opener isn’t blocked by a safety or travel issue.
Identify Your Models First (Because the Steps Really Do Change)
Before you press anything, take 60 seconds to identify what you have. On the opener (the motor head on the ceiling), look for a label with the model number and sometimes the radio type (Security+, Security+ 2.0, etc.). On the keypad, open the cover and look for a model number sticker inside. Those two IDs matter because Security+ and Security+ 2.0 keypads don’t always program the same way, and older openers with DIP switches use a totally different “match the switches” workflow.
Once you have the model numbers, use instructions written for your exact keypad/opener combination. This chamberlain opener keypad programming page is most helpful when it’s used as a model-specific reference (including sequences for temporary PIN features and reset/relearn steps that vary by keypad family). For an authoritative source, confirm the procedure in your Chamberlain/LiftMaster owner’s manual or the official Chamberlain support/manual lookup for your model.
If your opener manual mentions Security+ 2.0 and your keypad packaging/manual mentions something else (or vice versa), don’t force it—mismatched radio families are a common reason programming “almost works” but never actually pairs.
The Quick Programming Steps Most Chamberlain Keypads Use
Most Chamberlain/LiftMaster keypads that use a LEARN button follow this general pattern: set a 4-digit PIN on the keypad, then pair it to the opener at the motor head. Start by confirming the keypad battery is fresh and correctly seated.
On the opener, locate the LEARN button (often near the hanging antenna wire and an indicator LED). Press and release LEARN. You commonly have about 30 seconds (check your manual for the exact window) to complete the next step. At the keypad, enter your chosen PIN, then press and hold ENTER until the opener light blinks/clicks or the door begins to move—different units signal “learned” in slightly different ways.
If you’re dealing with an older DIP-switch opener, you won’t use LEARN at all. You’ll open the keypad and set its DIP switches to match the pattern inside the opener/receiver, then test the PIN/operation per that keypad’s instructions.
A Simple Troubleshooting Decision Tree
1) Keypad dead / no backlight: Replace the battery first, then check for corrosion or bent battery contacts inside the keypad. If the keypad powers up but the buttons feel inconsistent, re-seat the battery and try again.
2) Keypad “learns” but the door won’t operate: The opener may be refusing to run due to a door/safety condition rather than a programming issue. Check the safety sensor lights at the bottom of the tracks (misalignment is common), confirm the opener isn’t in a lock/vacation mode (some wall controls have a LOCK button), and watch whether the opener tries to move then reverses (travel/force limits may need adjustment per the manual).
3) Very short range or works only up close: Check that the opener’s antenna wire is hanging down and not tucked up inside the housing. Also consider RF interference from LED bulbs, nearby electronics, or a damaged antenna/logic board—swapping certain LED bulbs for “garage-door-opener compatible” bulbs is a common test.
4) No LEARN button anywhere: You may have a DIP-switch style opener or an external receiver. Look for a bank of tiny switches and use the DIP-switch matching method described in that opener/keypad manual.
Resetting Codes and Setting Up Temporary Access
If you moved into a home or don’t know who still has access, clearing old codes can be smart. Many Chamberlain/LiftMaster openers erase paired remotes/keypads by holding the LEARN button until the indicator changes (commonly around 6 seconds, but it varies by model—verify in your owner’s manual). Plan ahead: a full erase typically means you’ll need to reprogram every remote, keypad, and sometimes even vehicle buttons afterward.
Some keypads support a temporary PIN for deliveries or guests. The keystrokes vary by keypad model, so use the keypad’s model number (inside the cover) to pull the exact sequence from the manual. The same goes for “reset keypad PIN” steps—some models use a PROGRAM button, others use specific key combinations.
If you want someone to confirm compatibility, reset everything cleanly, and make sure the opener and door are operating safely, AA Garage Door LLC is a good place to get help.